Stop Following Recipes! And Start Cooking. (Short Ribs)
At Grass Fed Cattle Co, we know that short ribs can sometimes feel intimidating. They are a "low and slow" cut that requires a bit of patience, but as Scott shows us in his latest kitchen session, the process is actually incredibly simple.
This isn't a rigid recipe—it’s a method. It’s about using what you have in your kitchen, trusting your instincts, and letting the quality of the beef shine. Whether you’re a seasoned home cook or a total beginner, this braising technique will give you tender, shred-on-your-fork results every time.
Watch the Method in Action
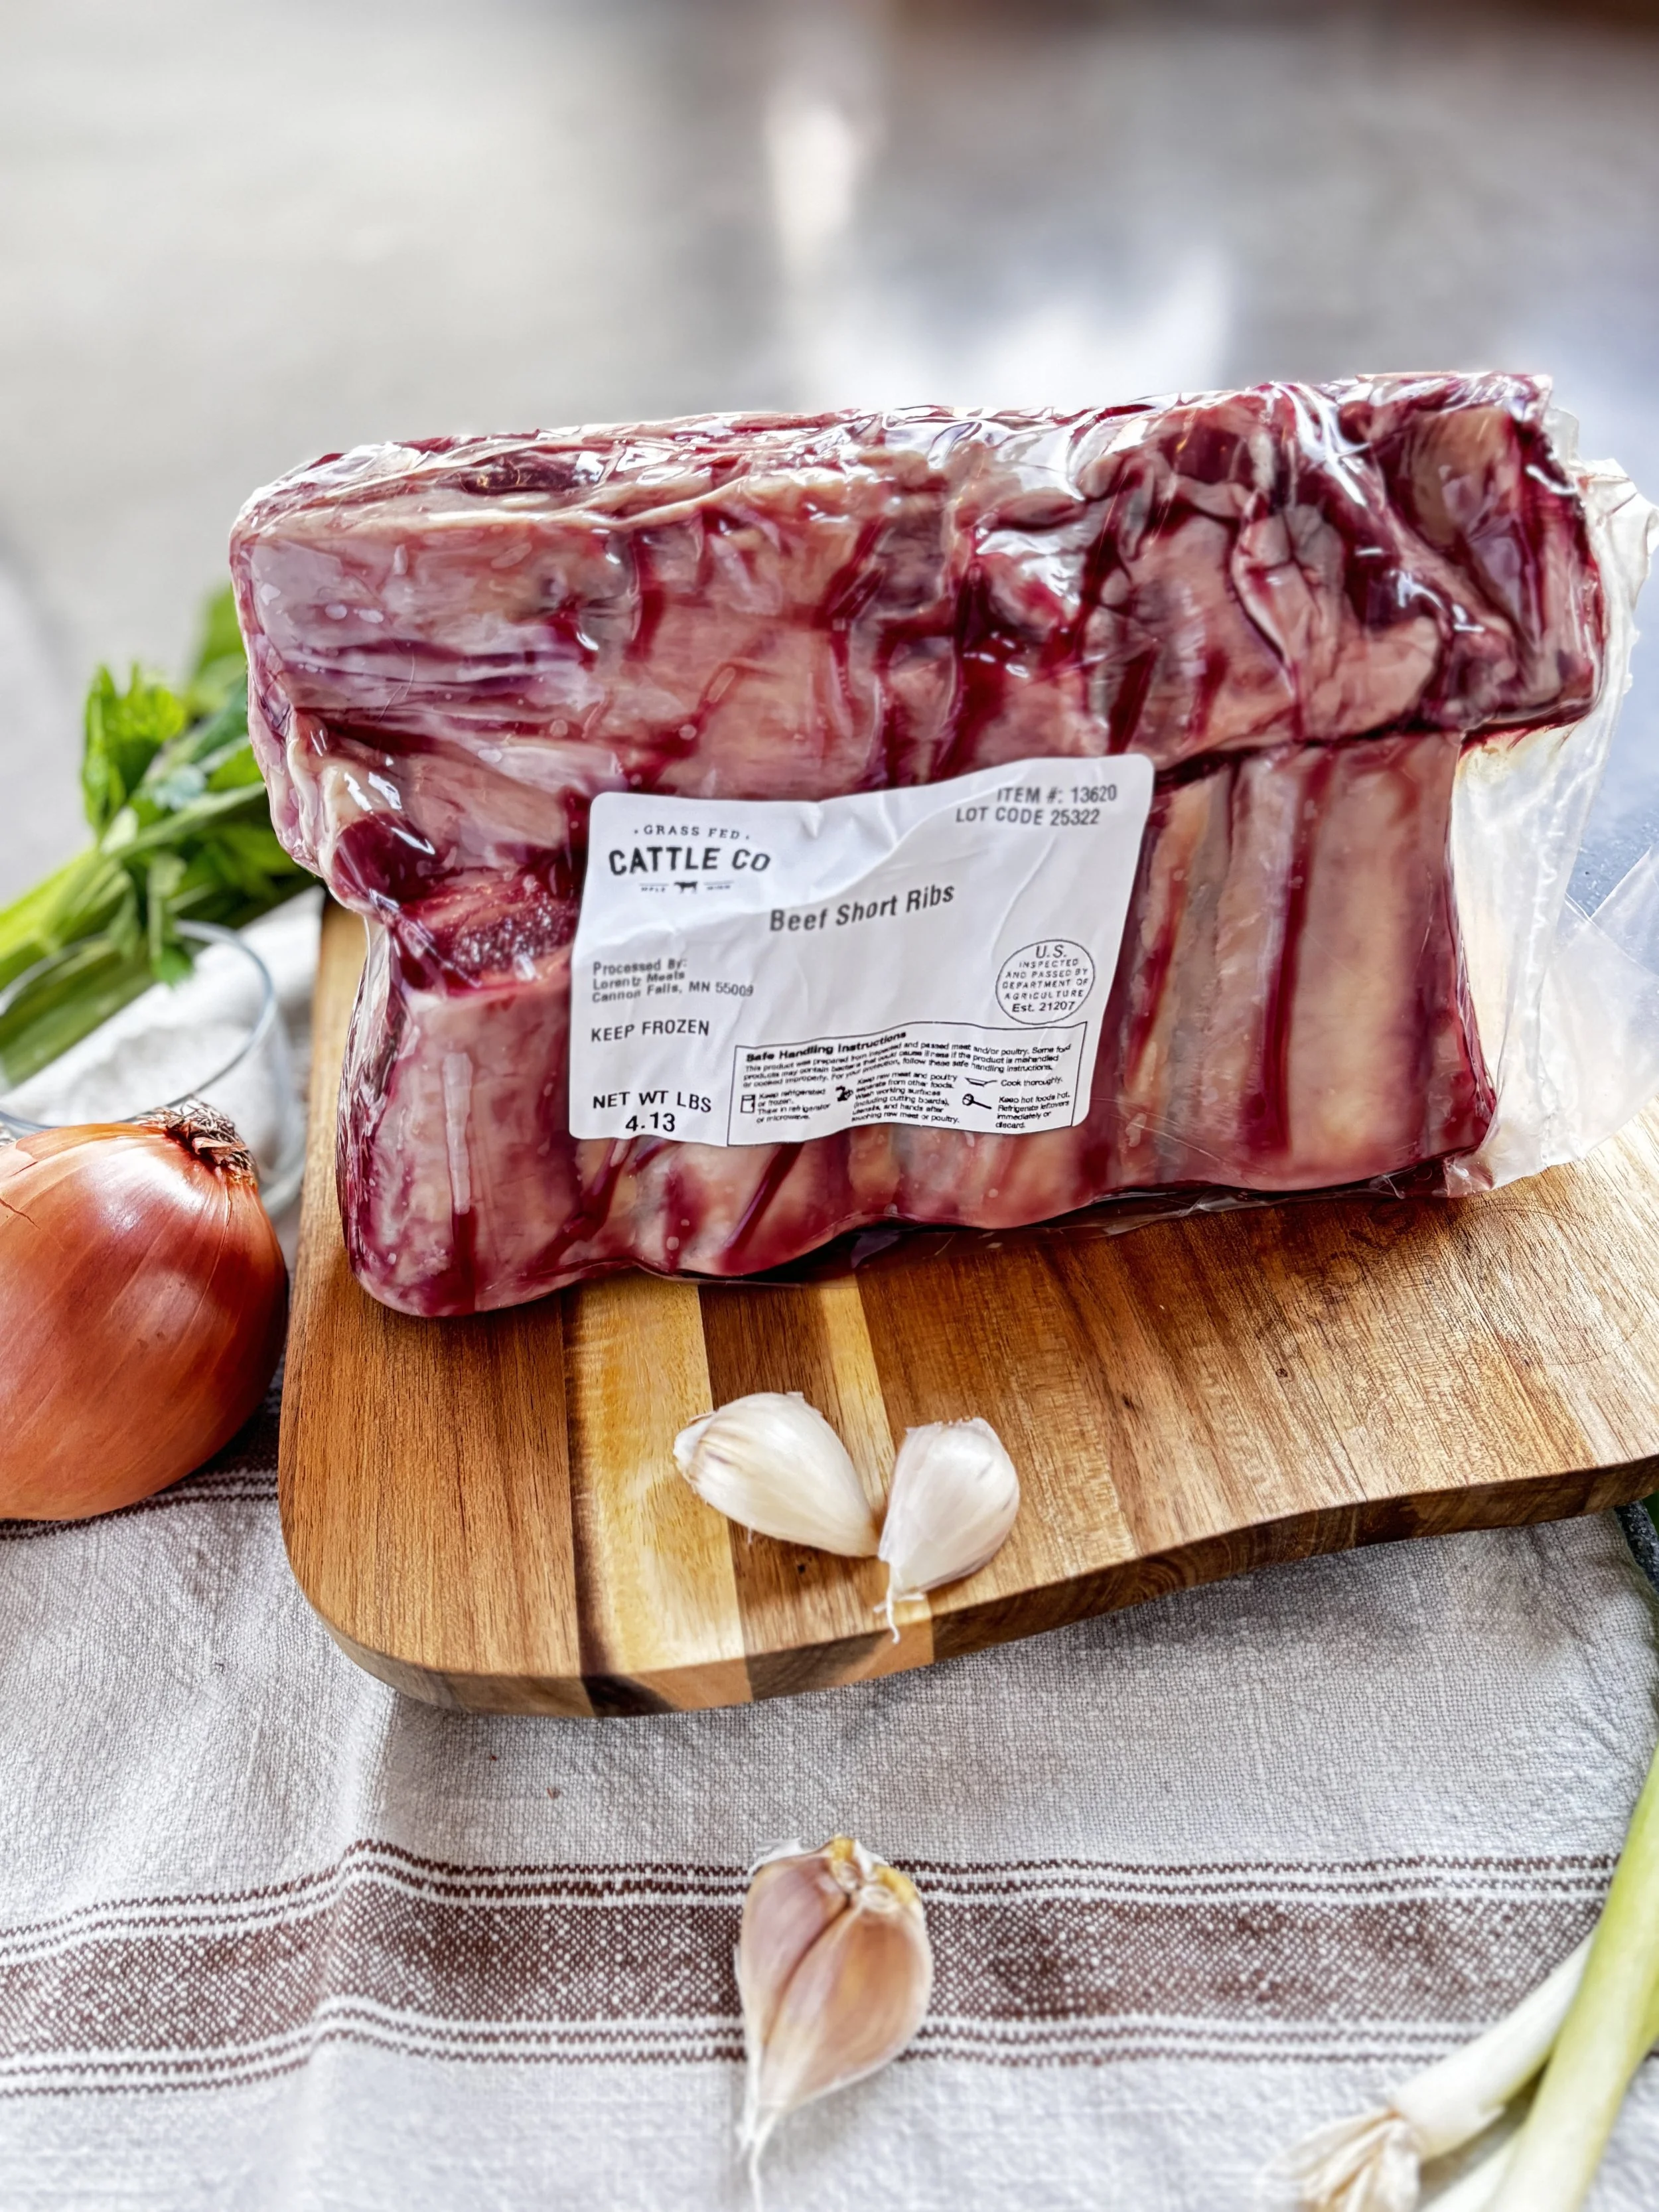
Follow along with Scott as he preps and braises four pounds of our grass-fed short ribs.
The "Anything-In-The-Fridge" Braise
The goal here is to infuse the meat with deep, savory flavors using a mix of aromatic vegetables and a "lively liquid."
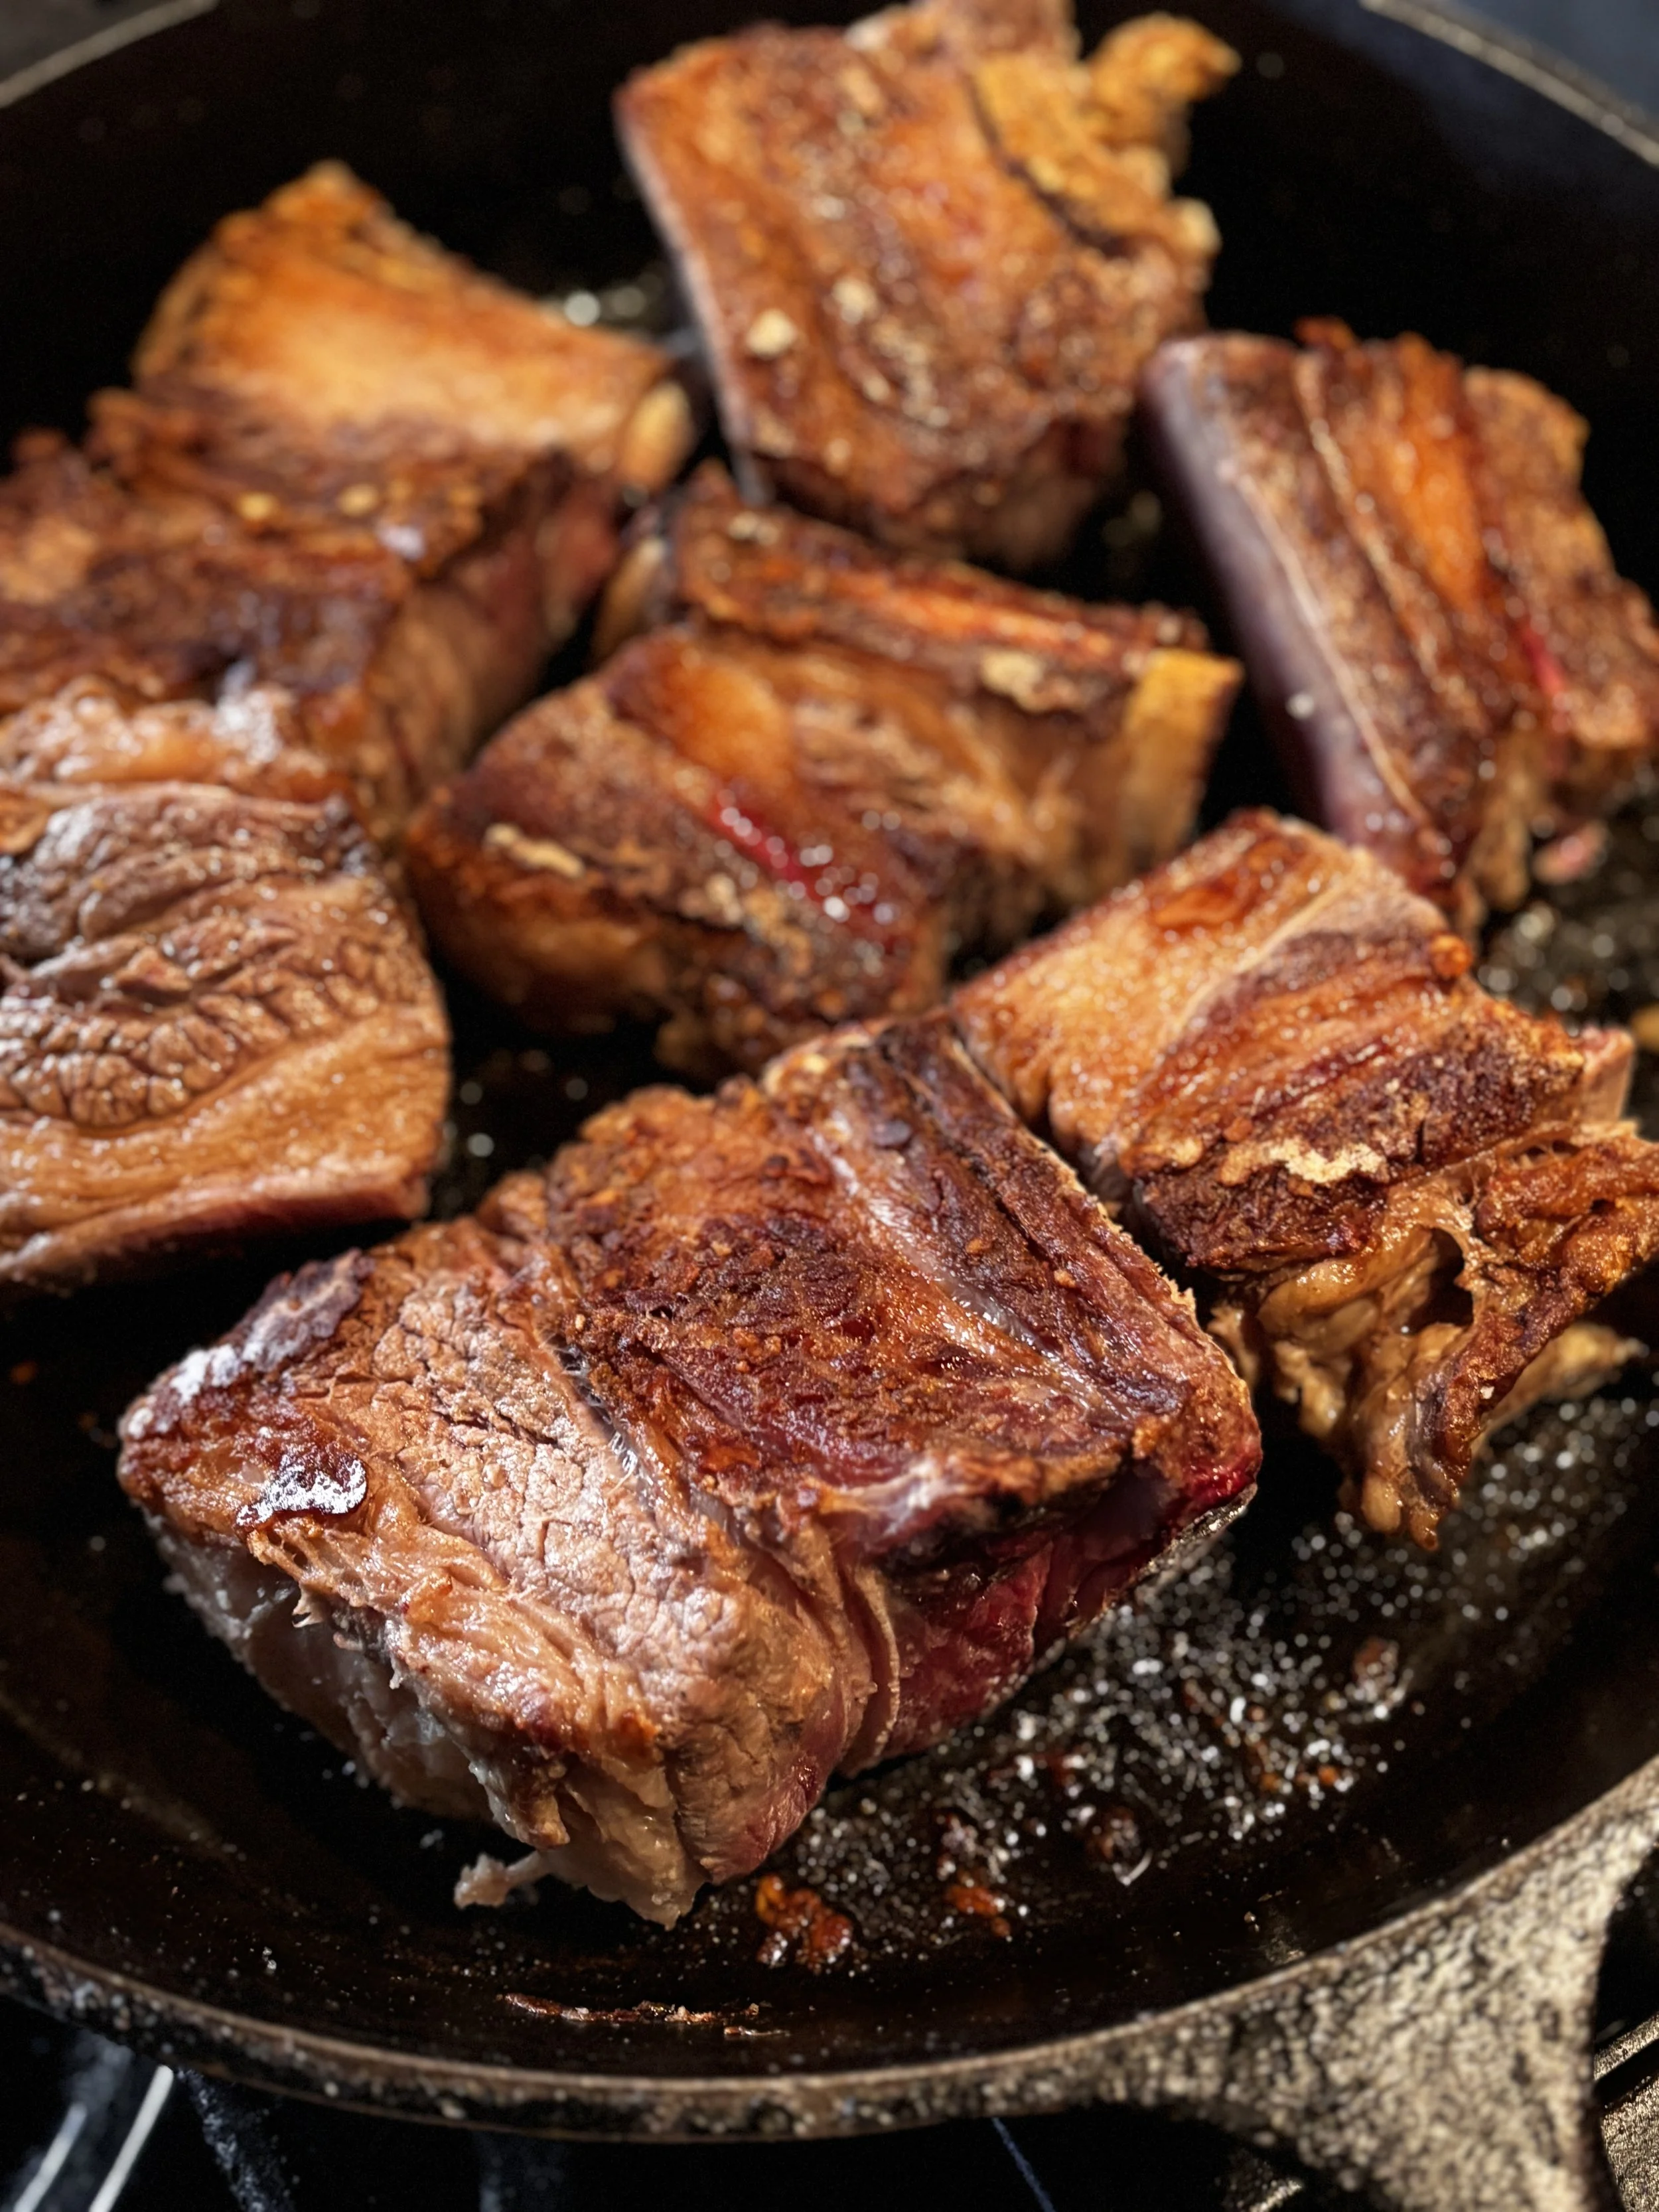
1. Prep the Beef
Thaw: Give your ribs a day or two in the fridge to thaw completely.
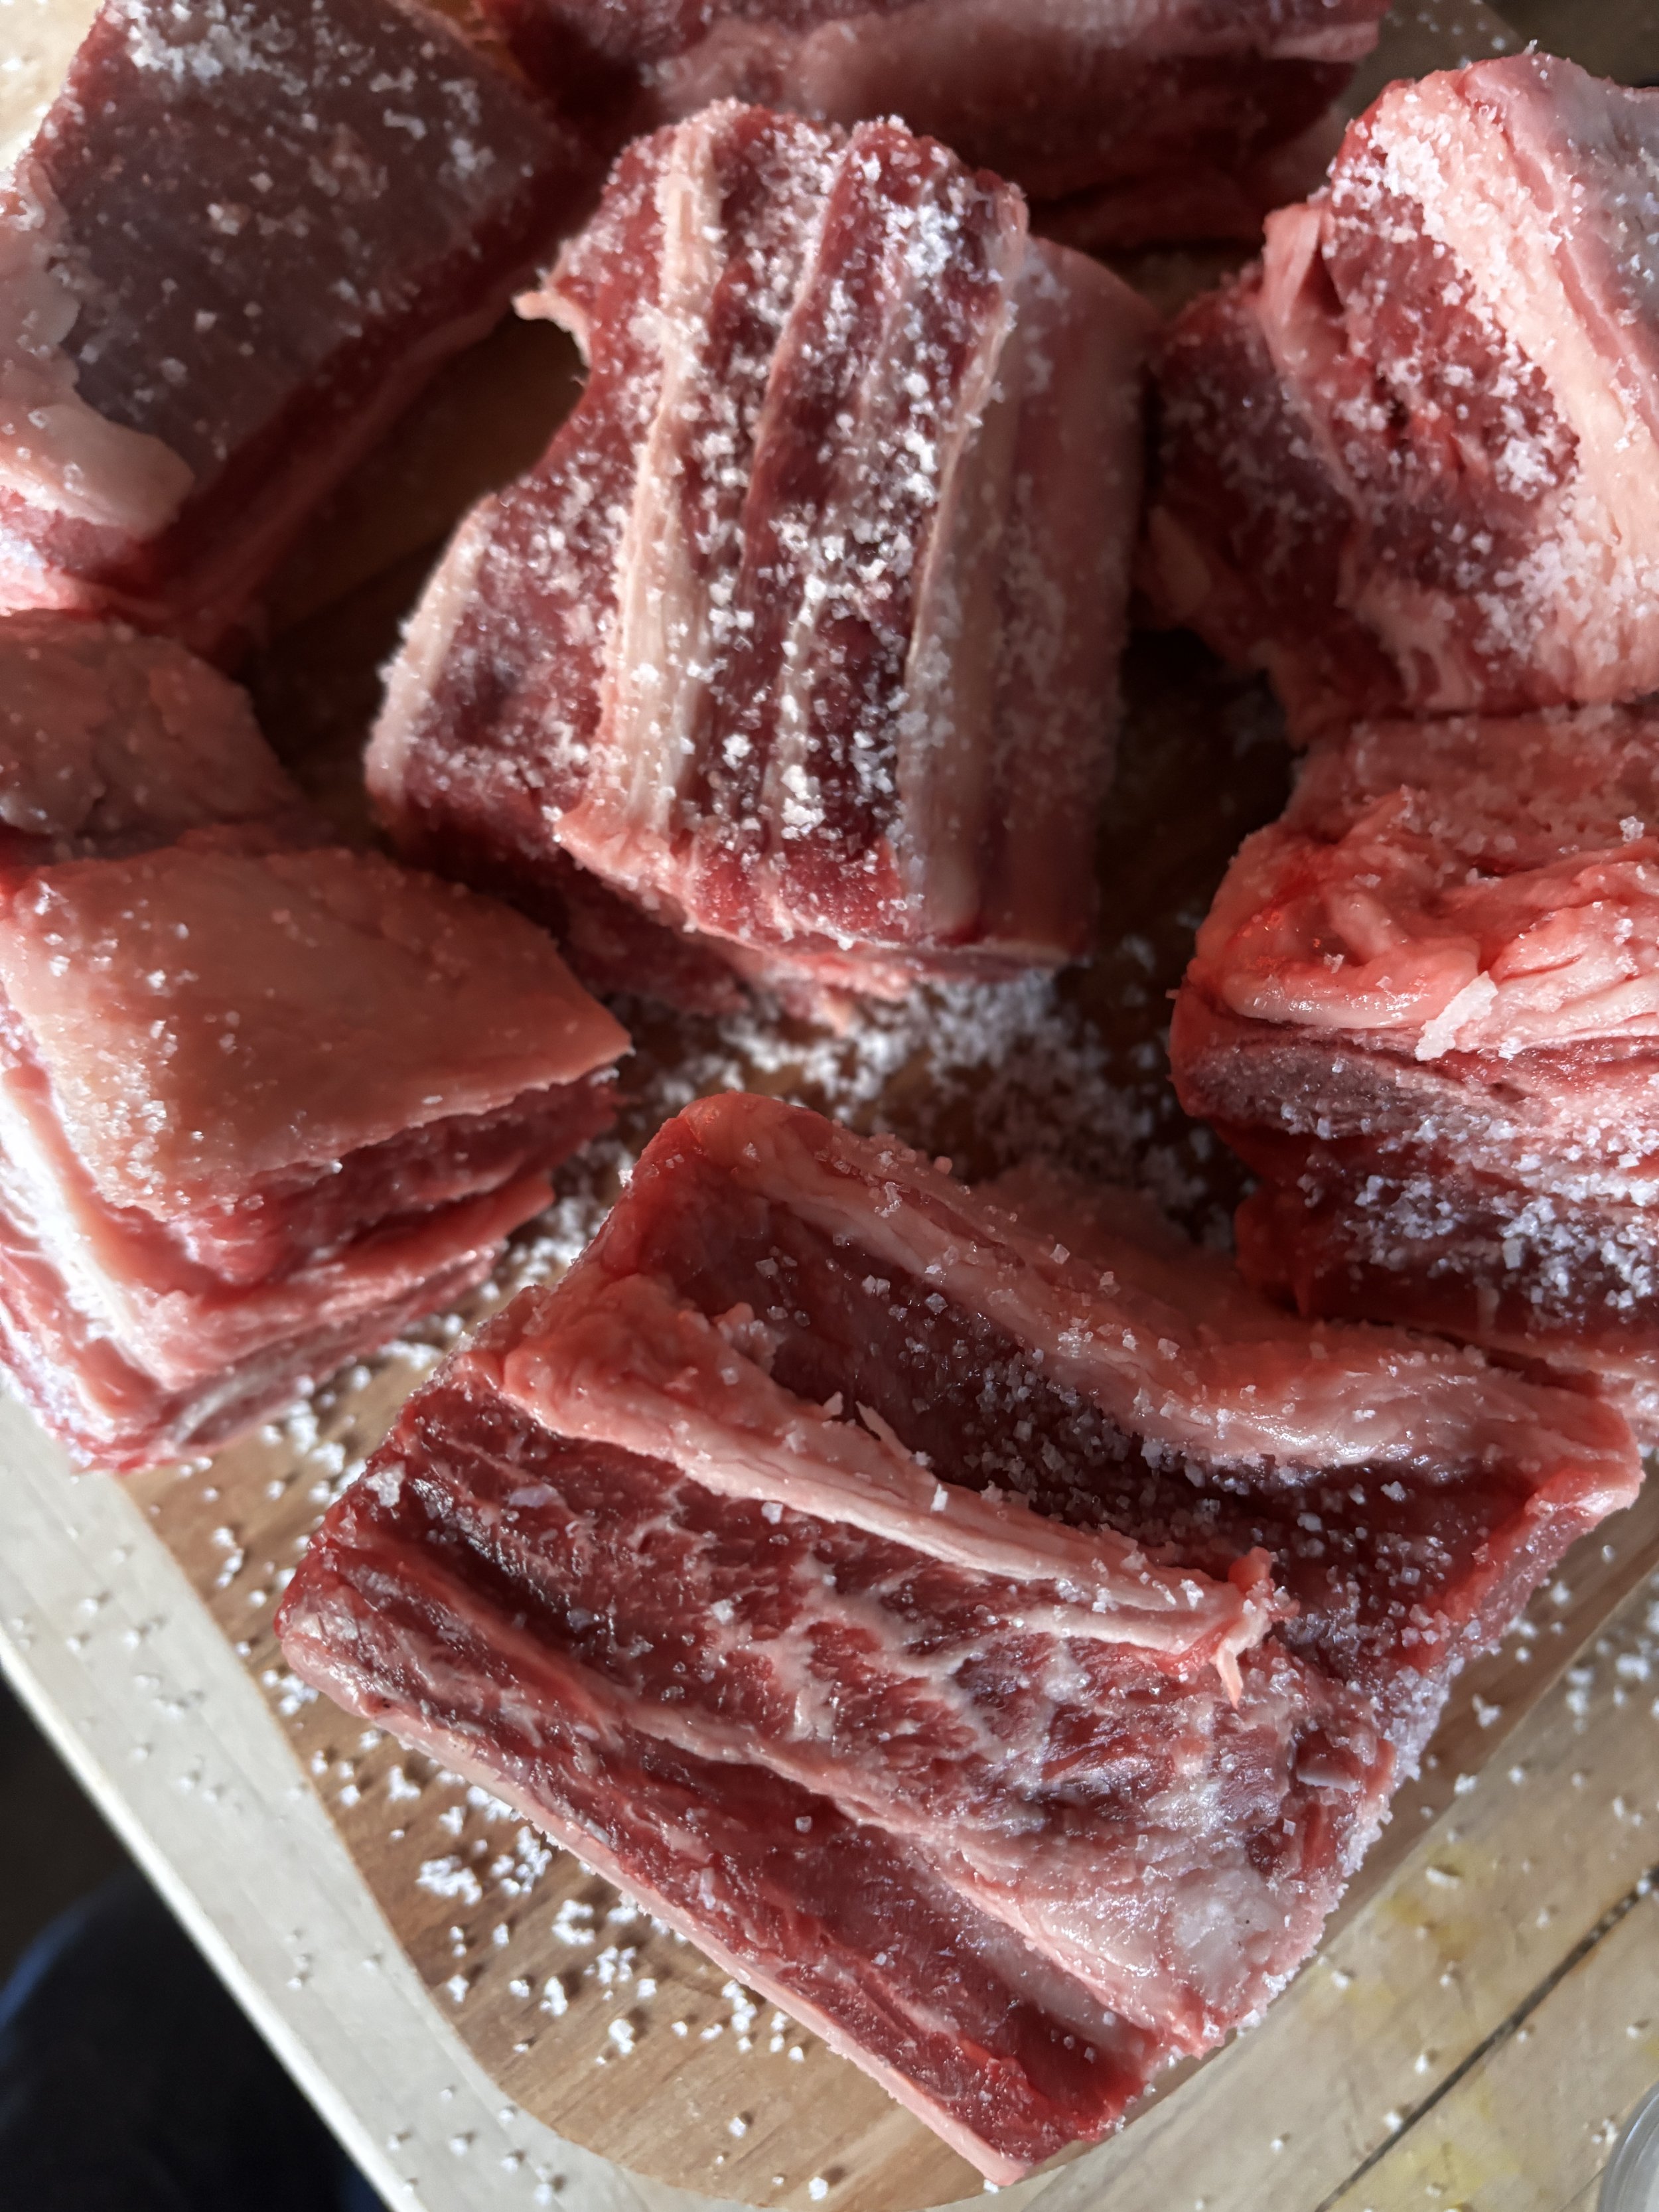
Salt: Coat the ribs generously with high-quality, coarse sea salt. Let them sit at room temperature while you chop your veggies.
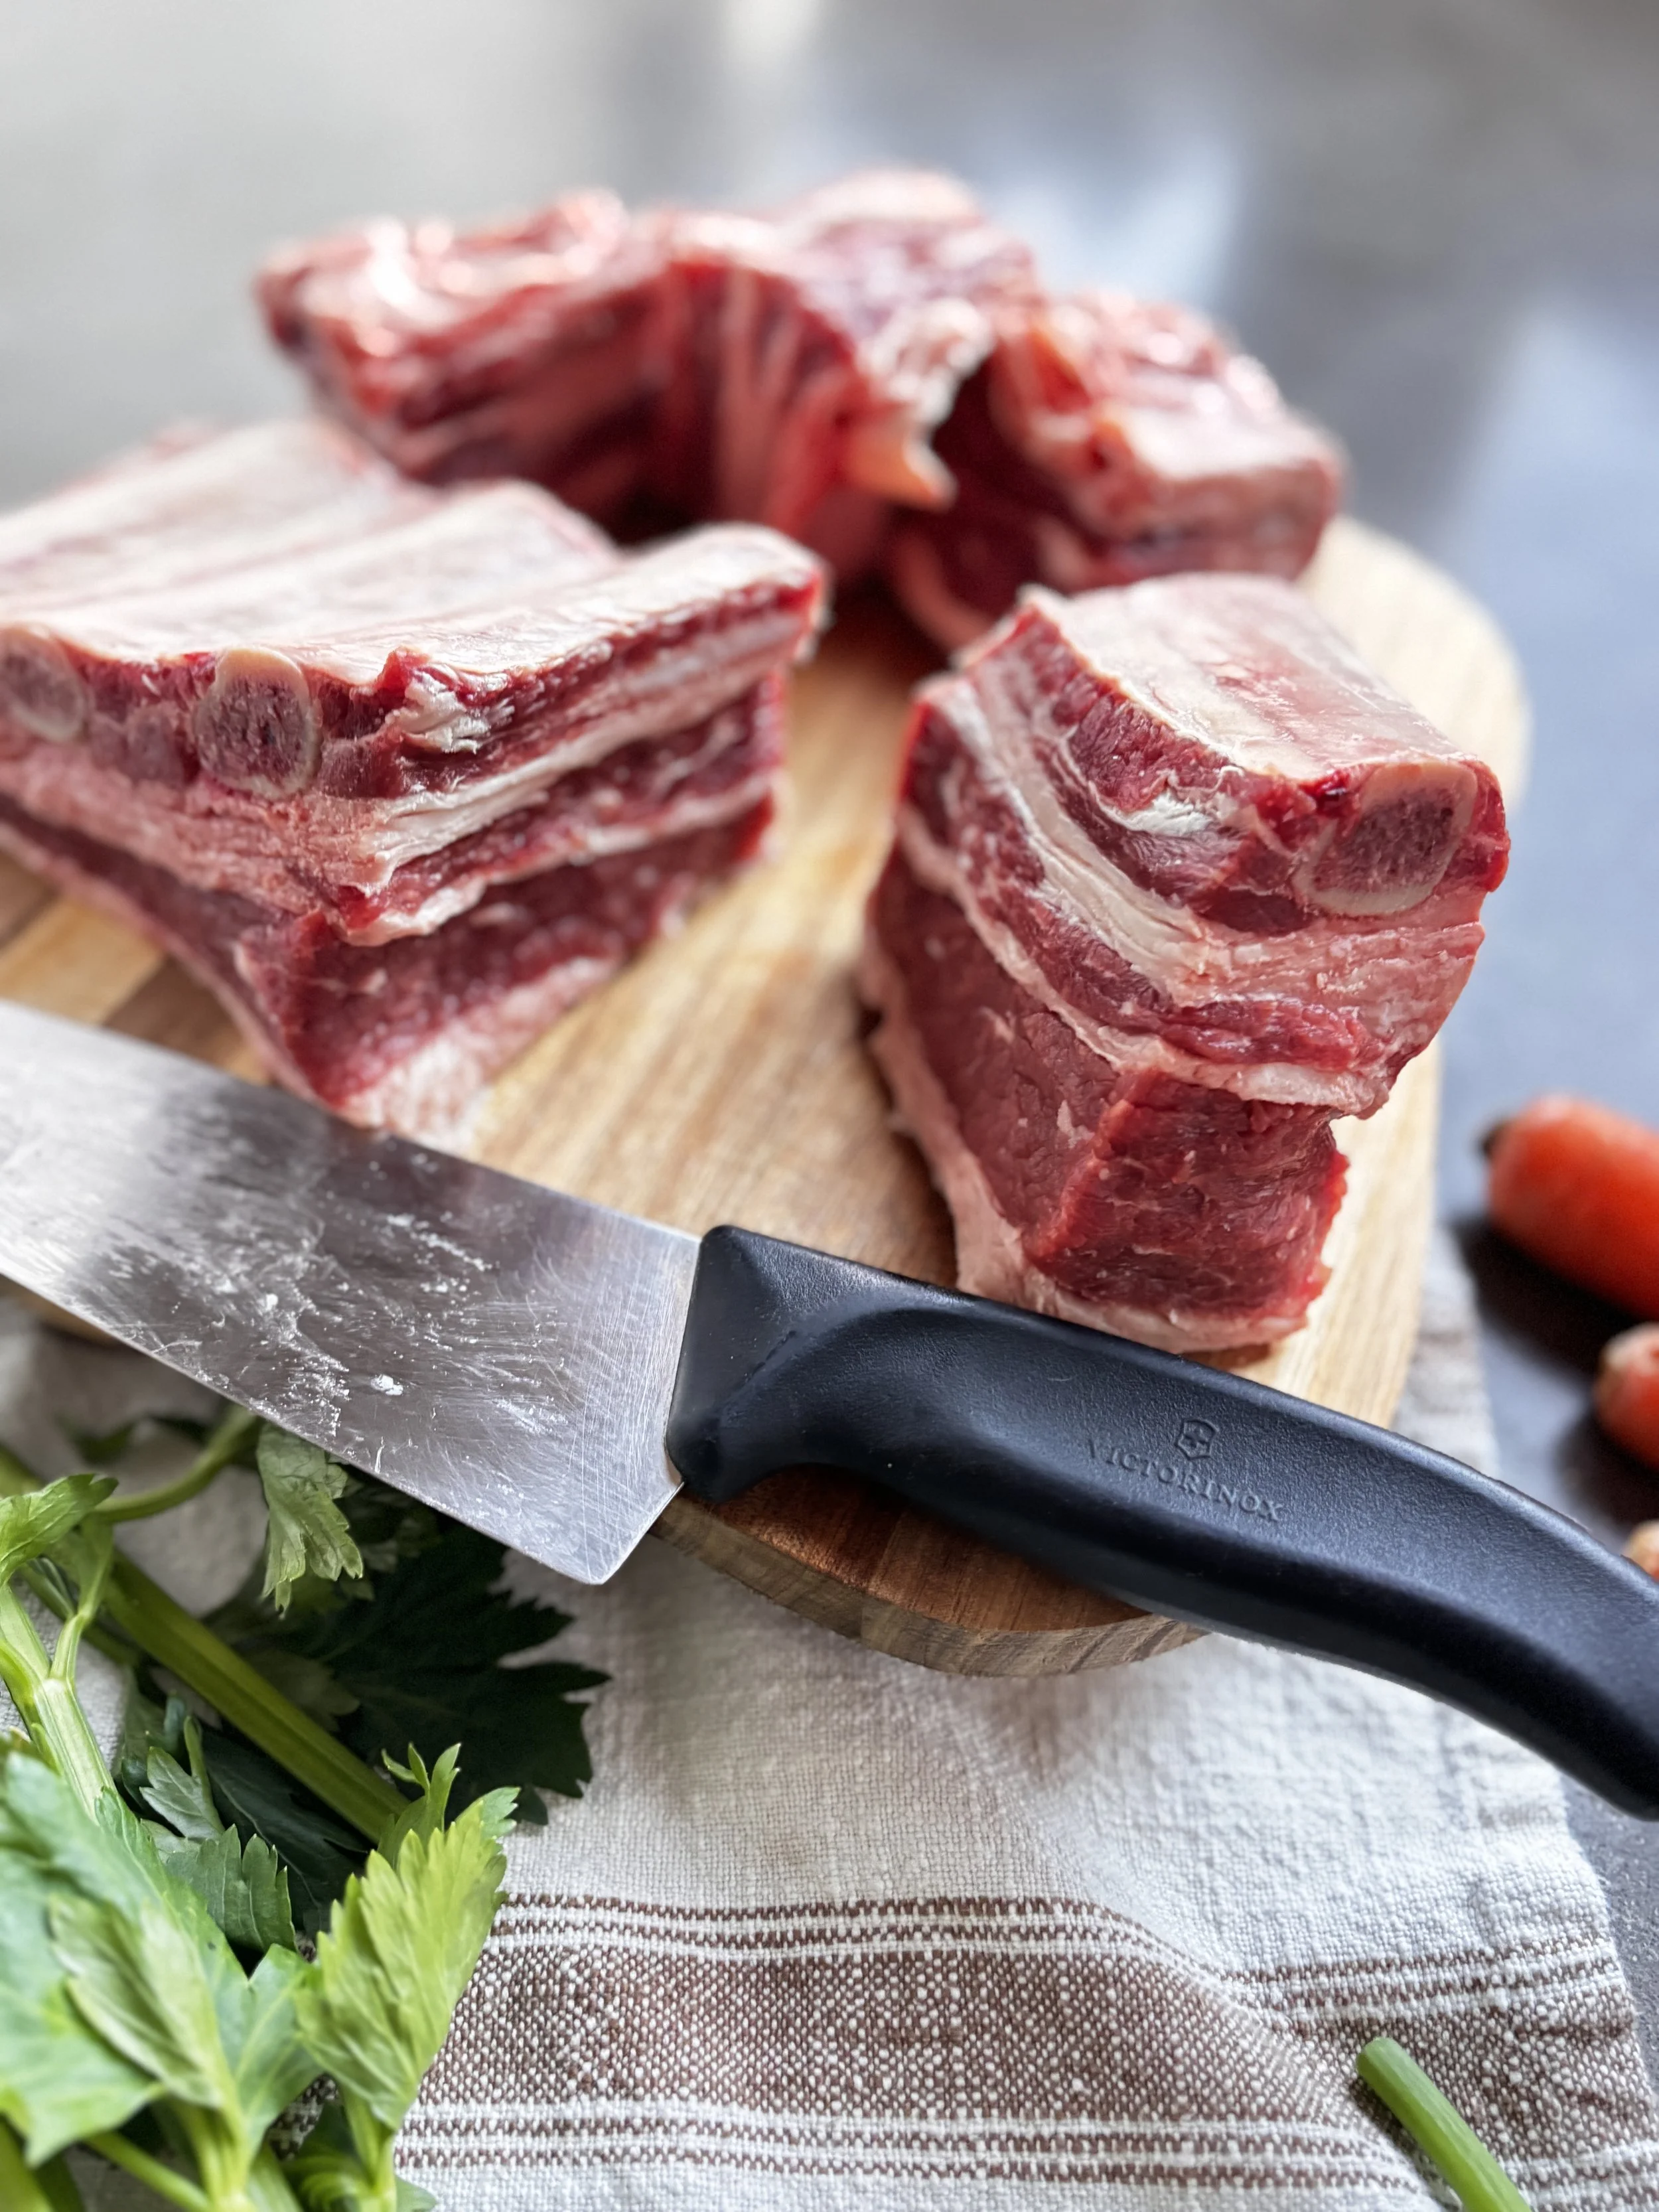
The Cut: Scott likes to cut the ribs into chunks before searing to ensure more surface area for that delicious crust.
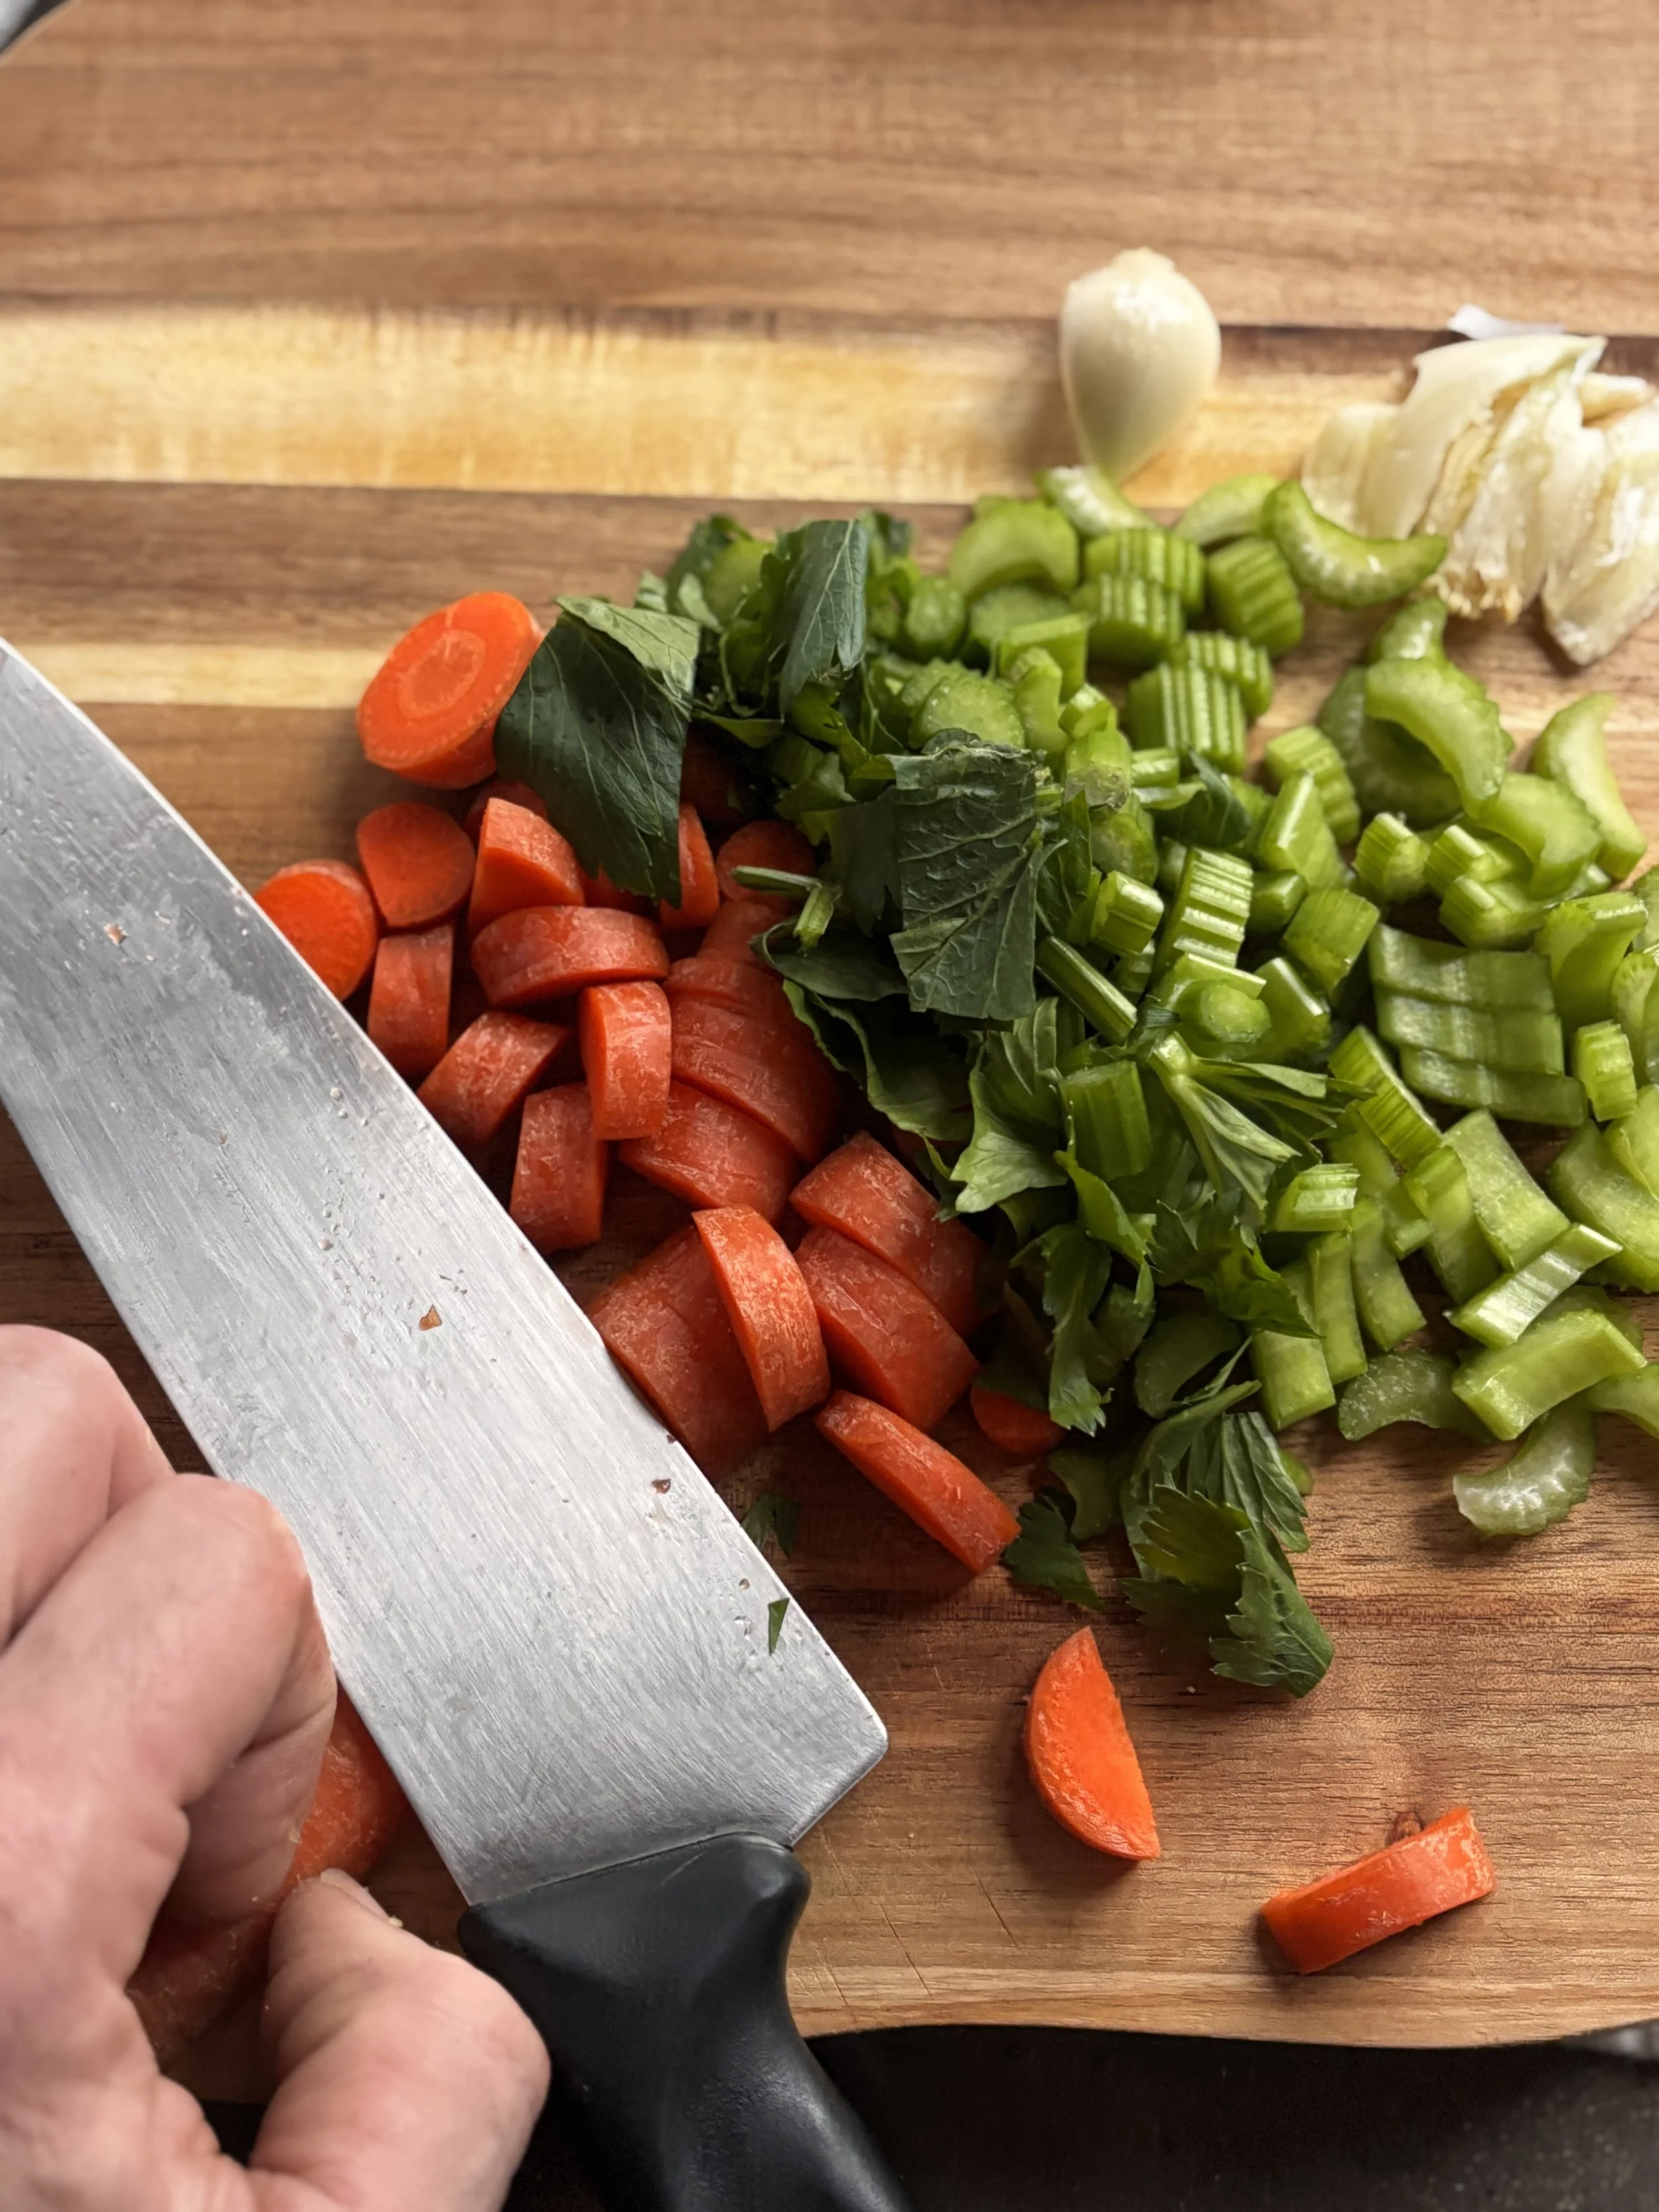
2. Choose Your Aromatics
Scott used ginger for this batch (a perfect pairing for beef!), along with the "standards":
Onions & Garlic
Carrots & Celery
Optional: Parsnips, turnips or spicy chilies for heat.
Pro Tip: No need to peel! Just scrub them clean. Since they get strained out later, the skins just add more nutrients and color to your sauce.
3. Sear and SautÉ
Heat a heavy skillet (cast iron is perfect) with a bit of fat like tallow, lard, or olive oil.
Sear: Brown the meat on all sides until it has a deep, dark crust. Remove the meat and set it aside.
Sauté: Toss your chopped veggies (about 5 cups for 4 lbs of meat) into the same pan. Let them caramelize and soak up the beef drippings.
4. The Braise (The "Slow Simmer")
Add Liquid: You want a "lively" liquid. Scott used a mix of water and a leftover jar of marinara. You could also use broth. Add a splash of soy sauce, wine, or apple cider vinegar for acidity.
Season: Add pepper, a bay leaf or fresh herbs like thyme.
Simmer: Put the meat back in, cover, and turn the heat to a low simmer. Let it go for 2 to 3 hours. Let it cook until the meat easily shreds with a fork. If you’re unfamiliar with how the burner settings and cookware will interact, check for scorching on the pan surface as you go.
The Finish: Next-Day Perfection
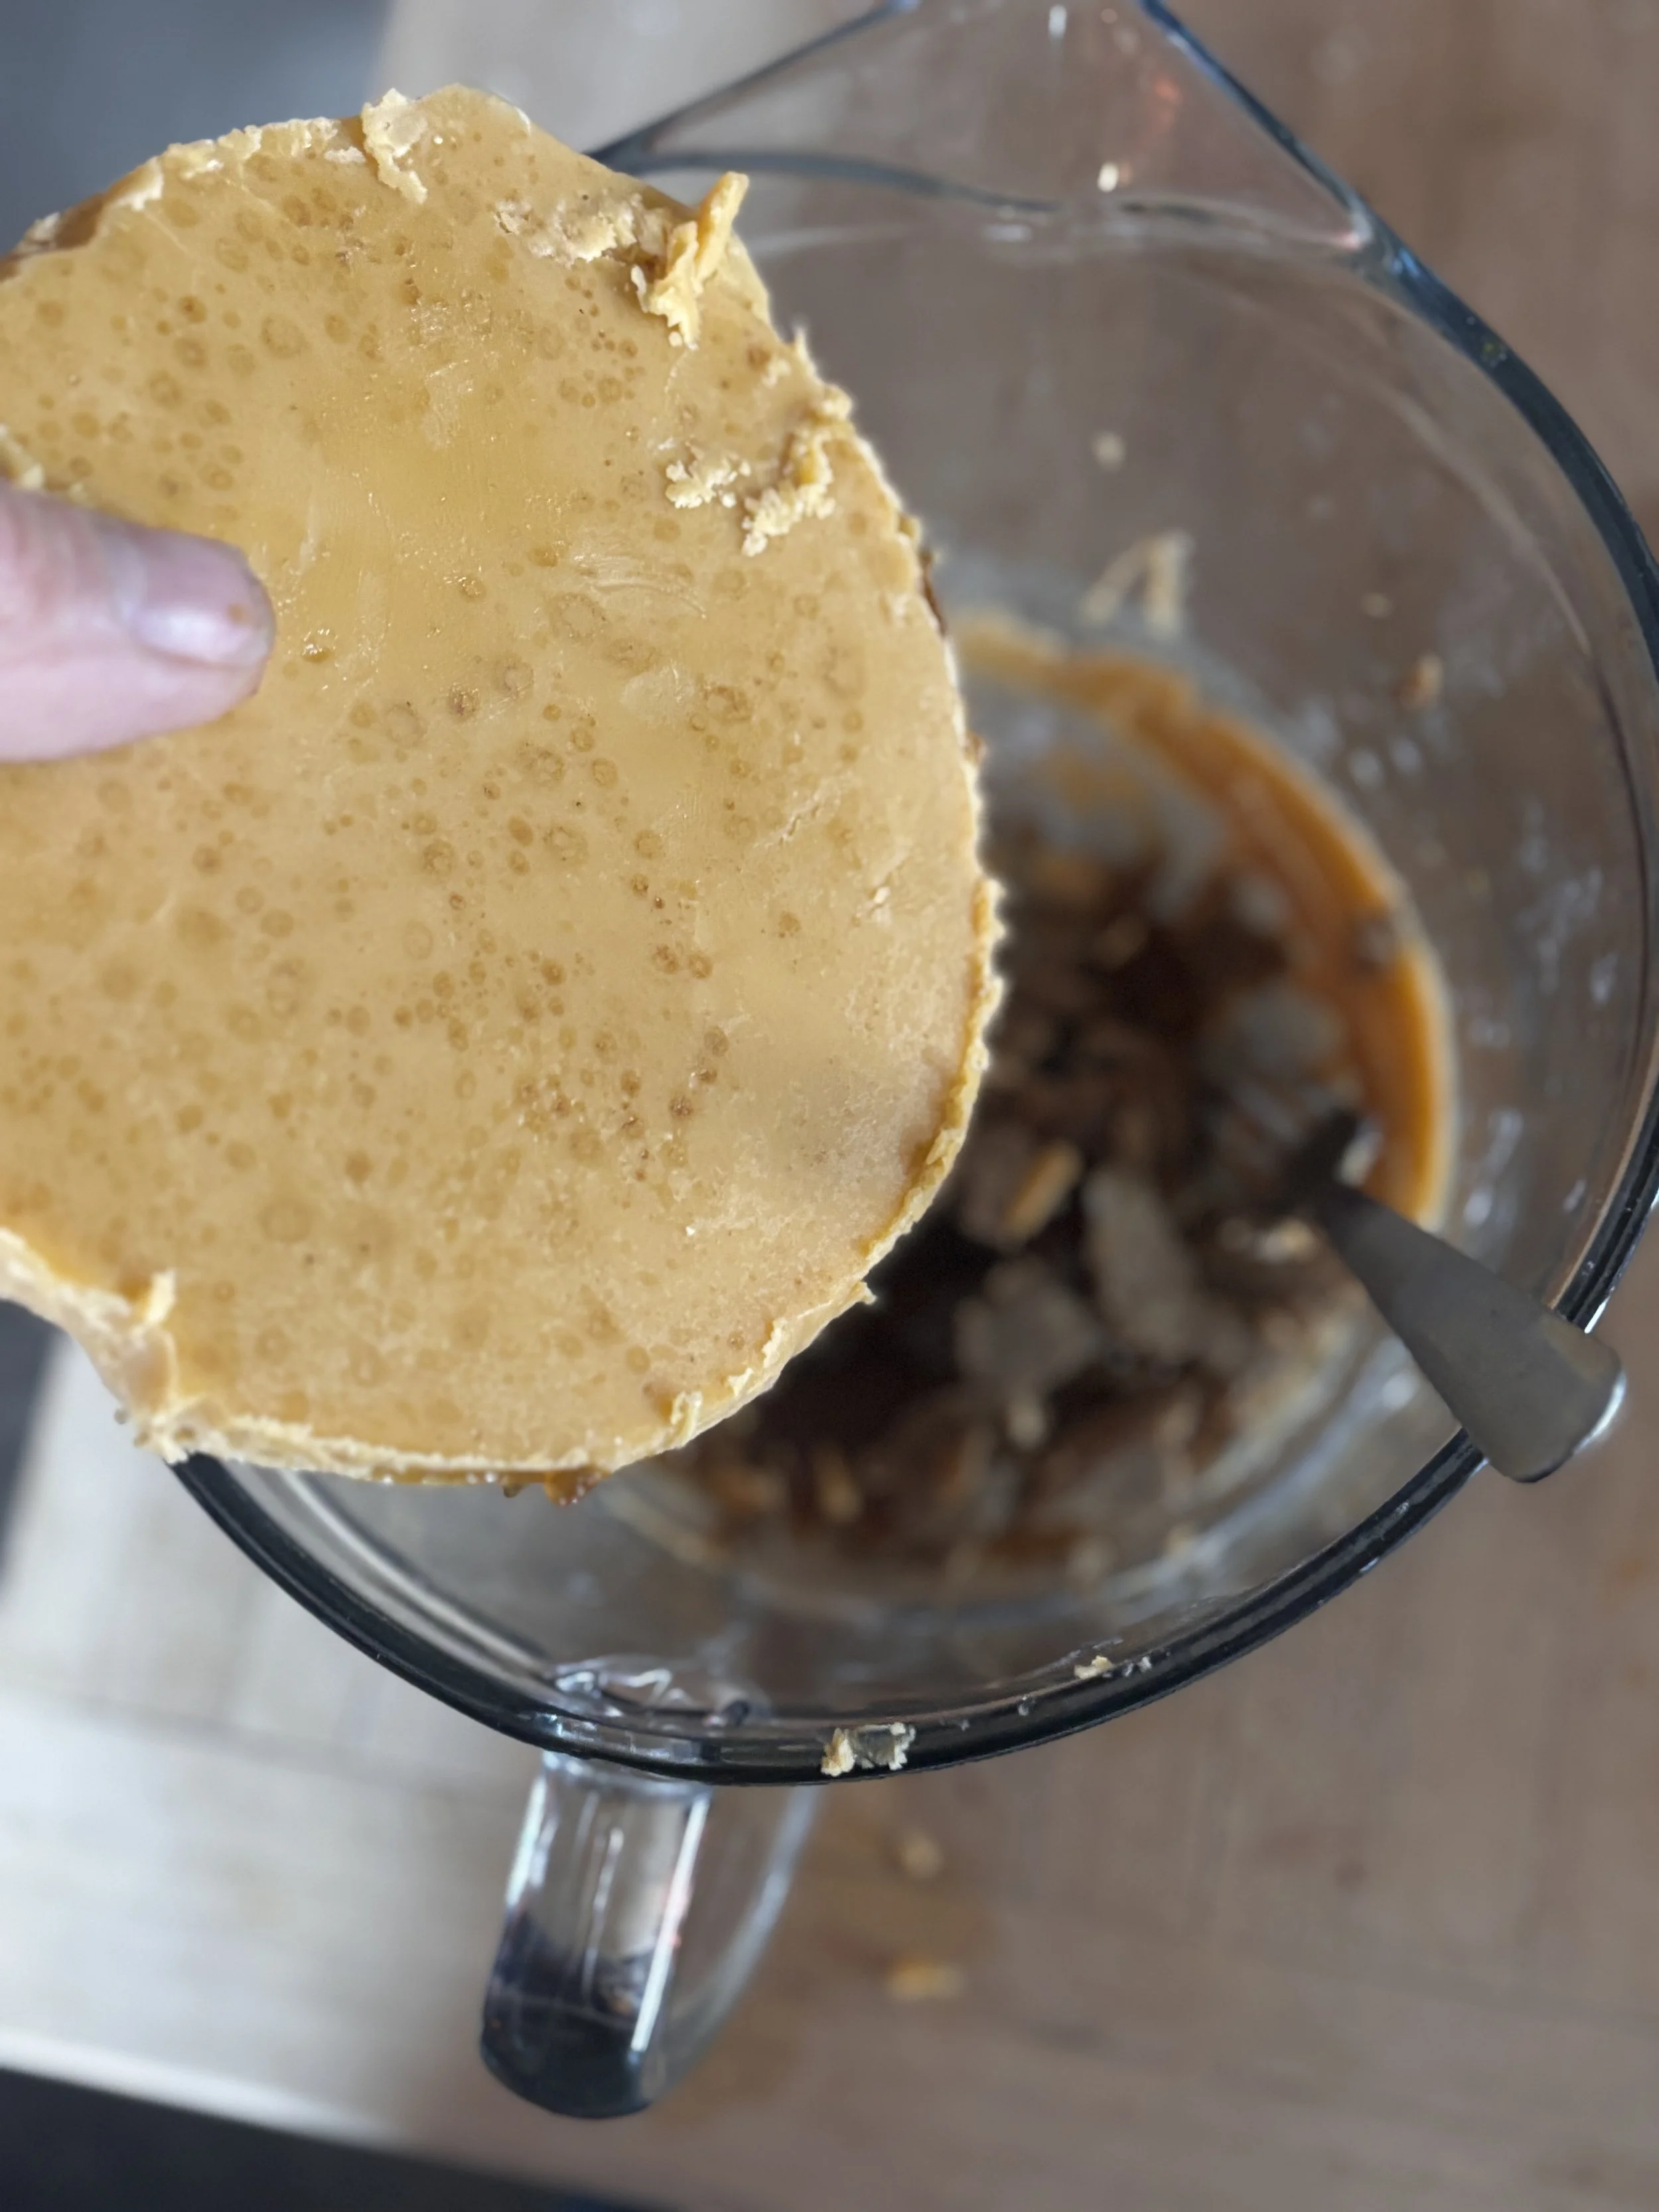
Scott often finishes his braise the day before he plans to eat it. This allows the flavors to develop and makes "The Disk" possible.
If you don’t refrigerate and want to finish the short ribs the day-of, skim the fat off the top and reserve for another meal or for possible next steps.
The "Possibility Pancake": When you refrigerate the liquid, the fat solidifies on top. Don’t throw this away! Scott uses this flavor-infused fat to create a roux (mixing it with flour over heat) to thicken the final sauce.
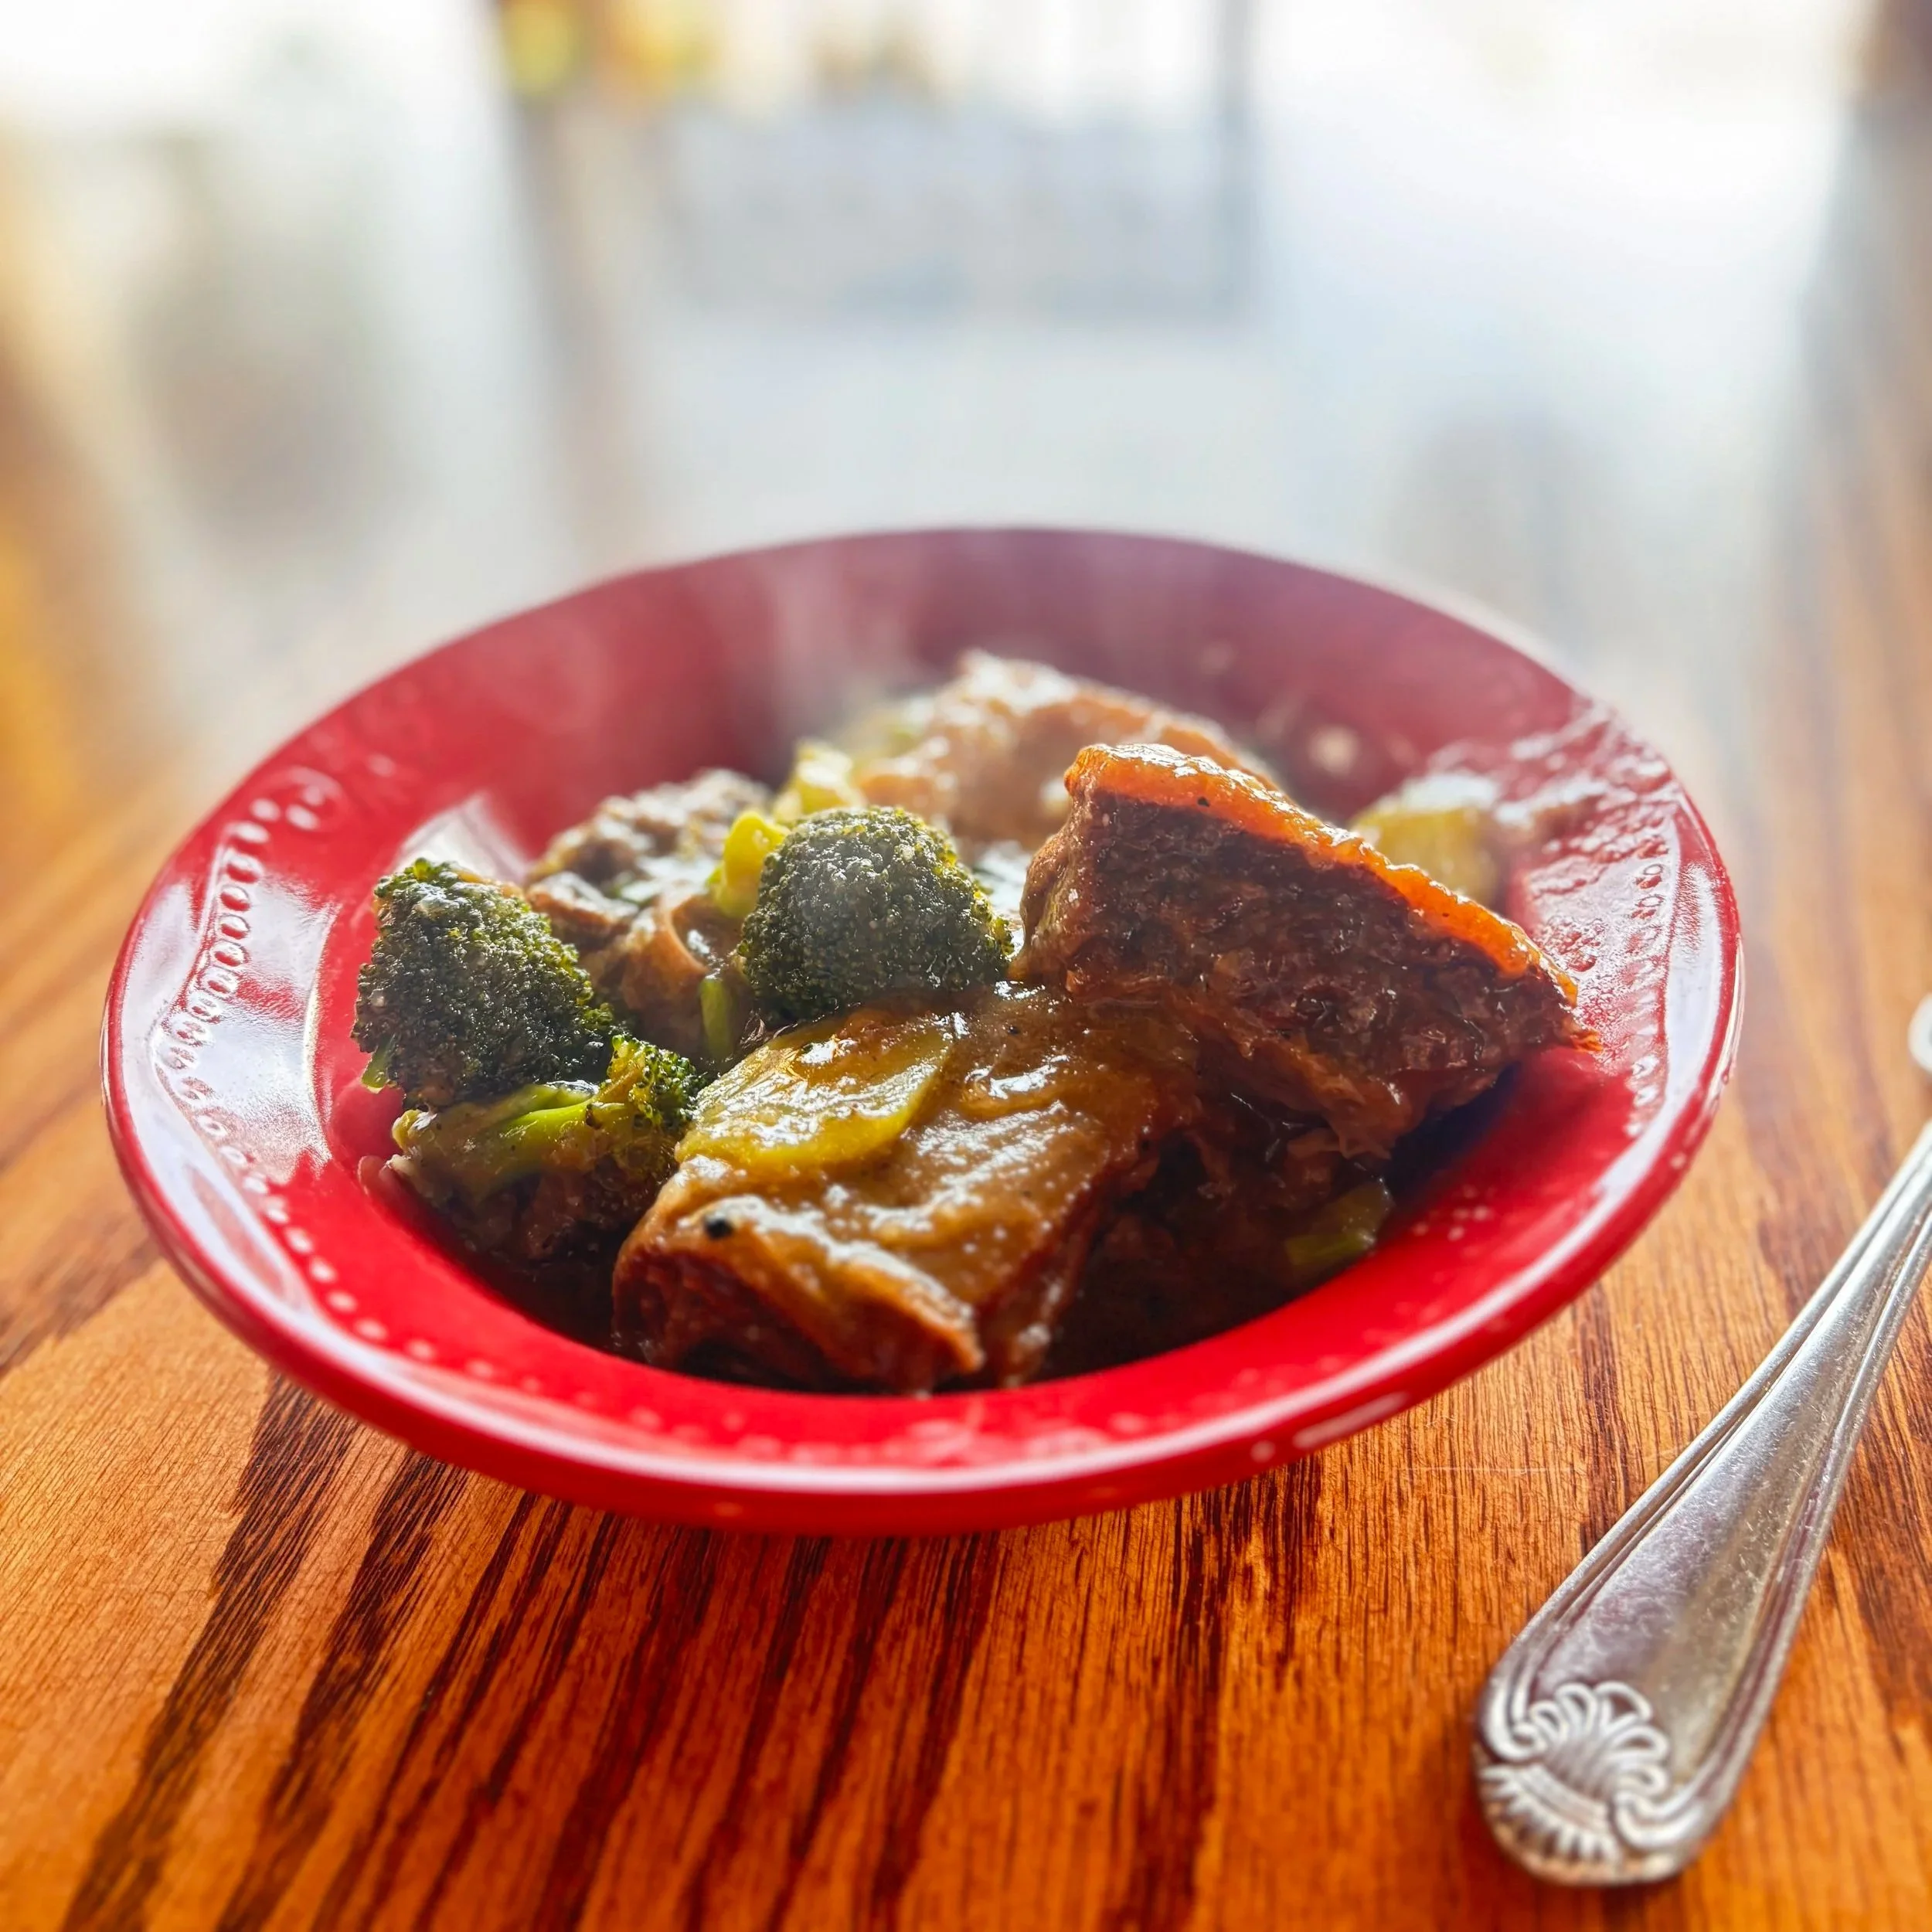
Serving Suggestion:
To finish the meal, Scott sautés fresh broccoli in a bit of that saved tallow, adds the strained braising liquid back in, and tosses the short ribs in to heat through. The result? A classic, ginger-infused beef and broccoli dish that is nutrient-dense and incredibly satisfying.
Why Braising Works
Short ribs come from the hard-working muscles of the animal. Because our cattle are 100% grass-fed and active on pasture, these cuts have incredible flavor but need that "slow and low" heat to break down the connective tissue. When you braise, along with super-tender meat, you're creating a rich, collagen-filled sauce that is as good for you as it is for your taste buds.
Ready to try? Grab a few packs of short ribs and get creative!